Crazy inventory provides the ability to import inventory lists and the accompanying article. It is also possible to export captured inventory lists of items and count positions. The exchange format for both import as well as export is an XML file.
The simplest form of data exchange is to export the data from an Microsoft Excel® file. Unfortunately, Microsoft Excel® does not provide a direct way to save a table as a pure XML file. The necessary steps are summarized in this wiki. All screenshots comes from Microsoft Office® 2010. The individual points may slightly differ in different versions, but the general procedure is the following:
If the developer tools do not appear in the menu bar, this menu needs to be enabled.
To enable the menu do the following steps:
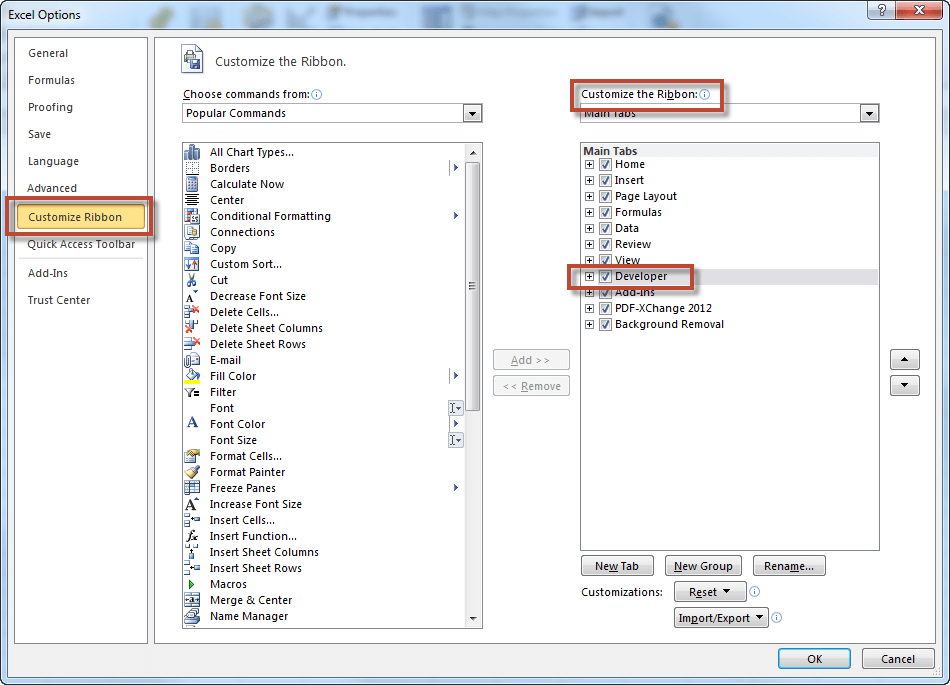
* Open the File menu – Options
* click at the option „Customize Ribbon“ and activate in area „Customize the Ribbon“ the entry „Developer"
You will see the Options menu
* Close the Options by clicking "OK"
* Now you should see the developer menu and you can choose
Install the XML scheme for the Import and Export of XML files
In order to import or export data from the Crazy inventory app, you need a scheme. Please download the following ZIP file V2.0 and extract and save the files on your local computer. If you are using an older version as version 2.0 of the Crazy Inventory app, please download this file.
* XML Scheme for downloaded inventory lists: schemaDownload_V2.0.xml
* XML Scheme of inventory lists to import into the app: schemaUpload_V2.0.xml
Import both XML Schemas as data source in Microsoft Excel:
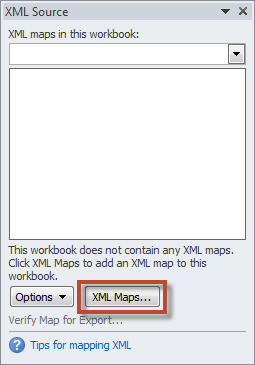
* Choose the development tools menu and click "Source"
* Click „XML Maps...“ in the window „XML Source“
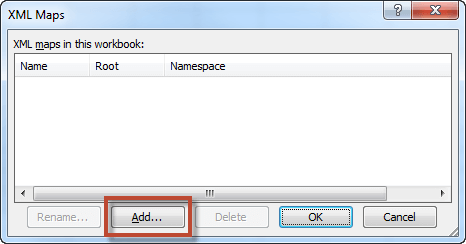
* Click „Add...“
* Choose the first downloaded XML scheme "schemaUpload.xml“ an click "Open". You should see an entry in the table above.
* Select the entry and change the name to "Import Scheme". You can do it if you cklick the button "Rename..." and overwrite the existing name
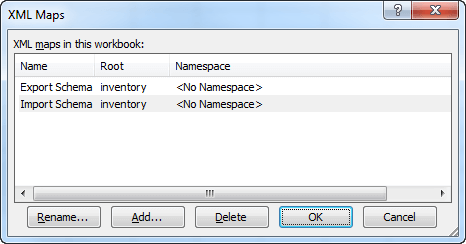
* Repeat steps 4 and 5 with the second scheme, "schemaDownload.xml" and name the entry "Export Scheme"
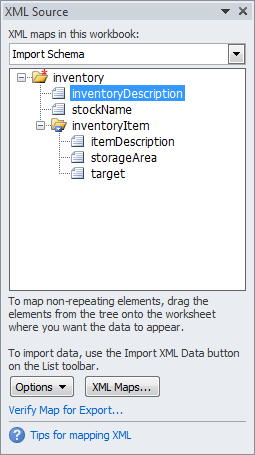
* Your XML mapping window should now look something like this:
* Click "OK"
Now you have imported the two XML schemas in your Microsoft Excel workbook. You should save your workbook for future projects. You can use a copy of this workbook.
Use the XML Scheme in a workbook to import data into the Crazy Inventory App
You have a workbook that you want to use as the data source to import the data into the Crazy inventory app.
* Open your workbook which you will use for your upload and import the XML Scheme „schemaUpload.xml“ as described above or use a workbook which you have prepared as described in the chapter above
* You can specify the name of your inventory as well as the storage location of the items. For the items you need at least a product description. Optionally, you can specify the storage space and the inventory target.
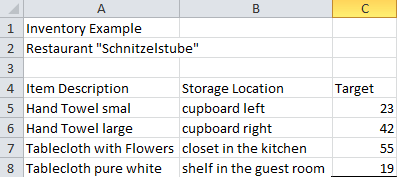
In my example, I use the following data:
* Open the developer menu and choose the XML source "Import Scheme"
* To assign the data in the table, the XML elements, drag items from the displayed tree to your worksheet. If you do not want to use an attribute, simply ignore it. Use the XML elements as follows:
inventoryDescription: this is the description of your inventory in the Crazy Inventory app.If do not enter a description, the file name will be your identification in the Crazy Inventory app. This value is unique in each inventory.
stockName: the name of your stock. It is optional and can be specified in the app later. You can enter the name of your customer or any other identification. This value is unique in each inventory.
itemDescription: the description of an article which you want to count. You should fill this value in any case. So you can find the entry later. Assign this element of a column in your table because you will have several articles.
intemDescription2: Zusätzliche Artikelbezeichnung des Artikels der gezählt werden soll. Dieser Wert is optional und erleichtert Ihnen das identifizieren des Artikels in der Inventurliste.
storageArea: this is the place where your item can be found. Assign this element of a column in your table. It is an optional attribute.
target: the reference value which you expect to find in your stock. You can assign this value to identify if all articles you already have counted. Maybe you forgot a part. Assign this element of a column in your table.
price: Rating Price - in the inventory list represent the value of your article, you can specify the rating price and later represent the stock as monitären value. This value is optional and will be automatically filled with 0 if you do not specify it.
information: Barcode ID - This value is compared when you scan an item. Does the recognized ID while scanning the bar code ID in the article agree it is found in the list of products and processed or displayed according to your selection.
information2: Additional information - Here you can add additional information about the article which are not printed in the inventory list. It is intended primarily to find the correct items in the list. For example, it could contain the serial numbers. The value is optional.
itemDate: Item Date - Some customers have requested this field in order to manage an expiration date or batch date, for example. How you use this date is entirely up to you. It has no direct influence on the function of the app. However, it is displayed in the list of all articles and the inventory list if it has been entered. Please note that the date format depends on your settings for language and region. If you use German as the language on your device and have set the region to Germany, the date is used in the format "DD.MM.YY, hh:mm:ss" (16.08.18, 17:11:29). For a device language of English and the United States region, the date is used in the format "MM/DD/YY, hh:mm:ss aa" (8/16/18, 5:11:29 PM). If you are not sure which format is used on your device, please export an inventory using a date and look at the value in the exported XML file.
itemNote: Notes - For each article you can store a text of any length as a note. The text can be displayed in the list of articles and can be changed if necessary. However, it has no influence on the function of the app.
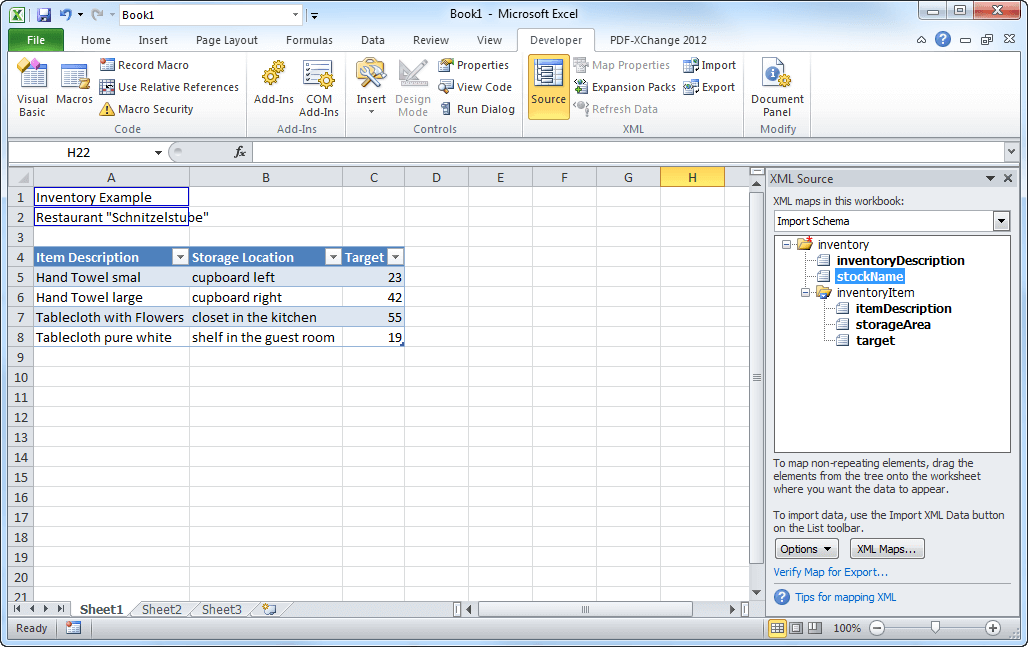
* After assigning the XML elements to the values in the table your workbook should look something like this:
* To export the data from Microsoft Excel, select the "Developer" menu and select "Export"
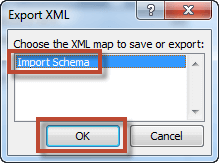
* If you have only one scheme in your workbook, this will be used without an upcomming dialog. In case you have two schemas choose the import scheme and click "OK".
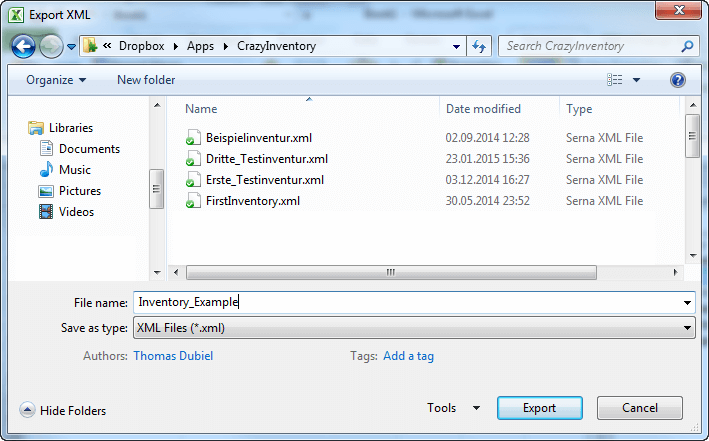
* Save your file in your Dropbox folder "Apps/CrazyInventory" and click "Export"
* Now you should see a new file in your Dropbox app
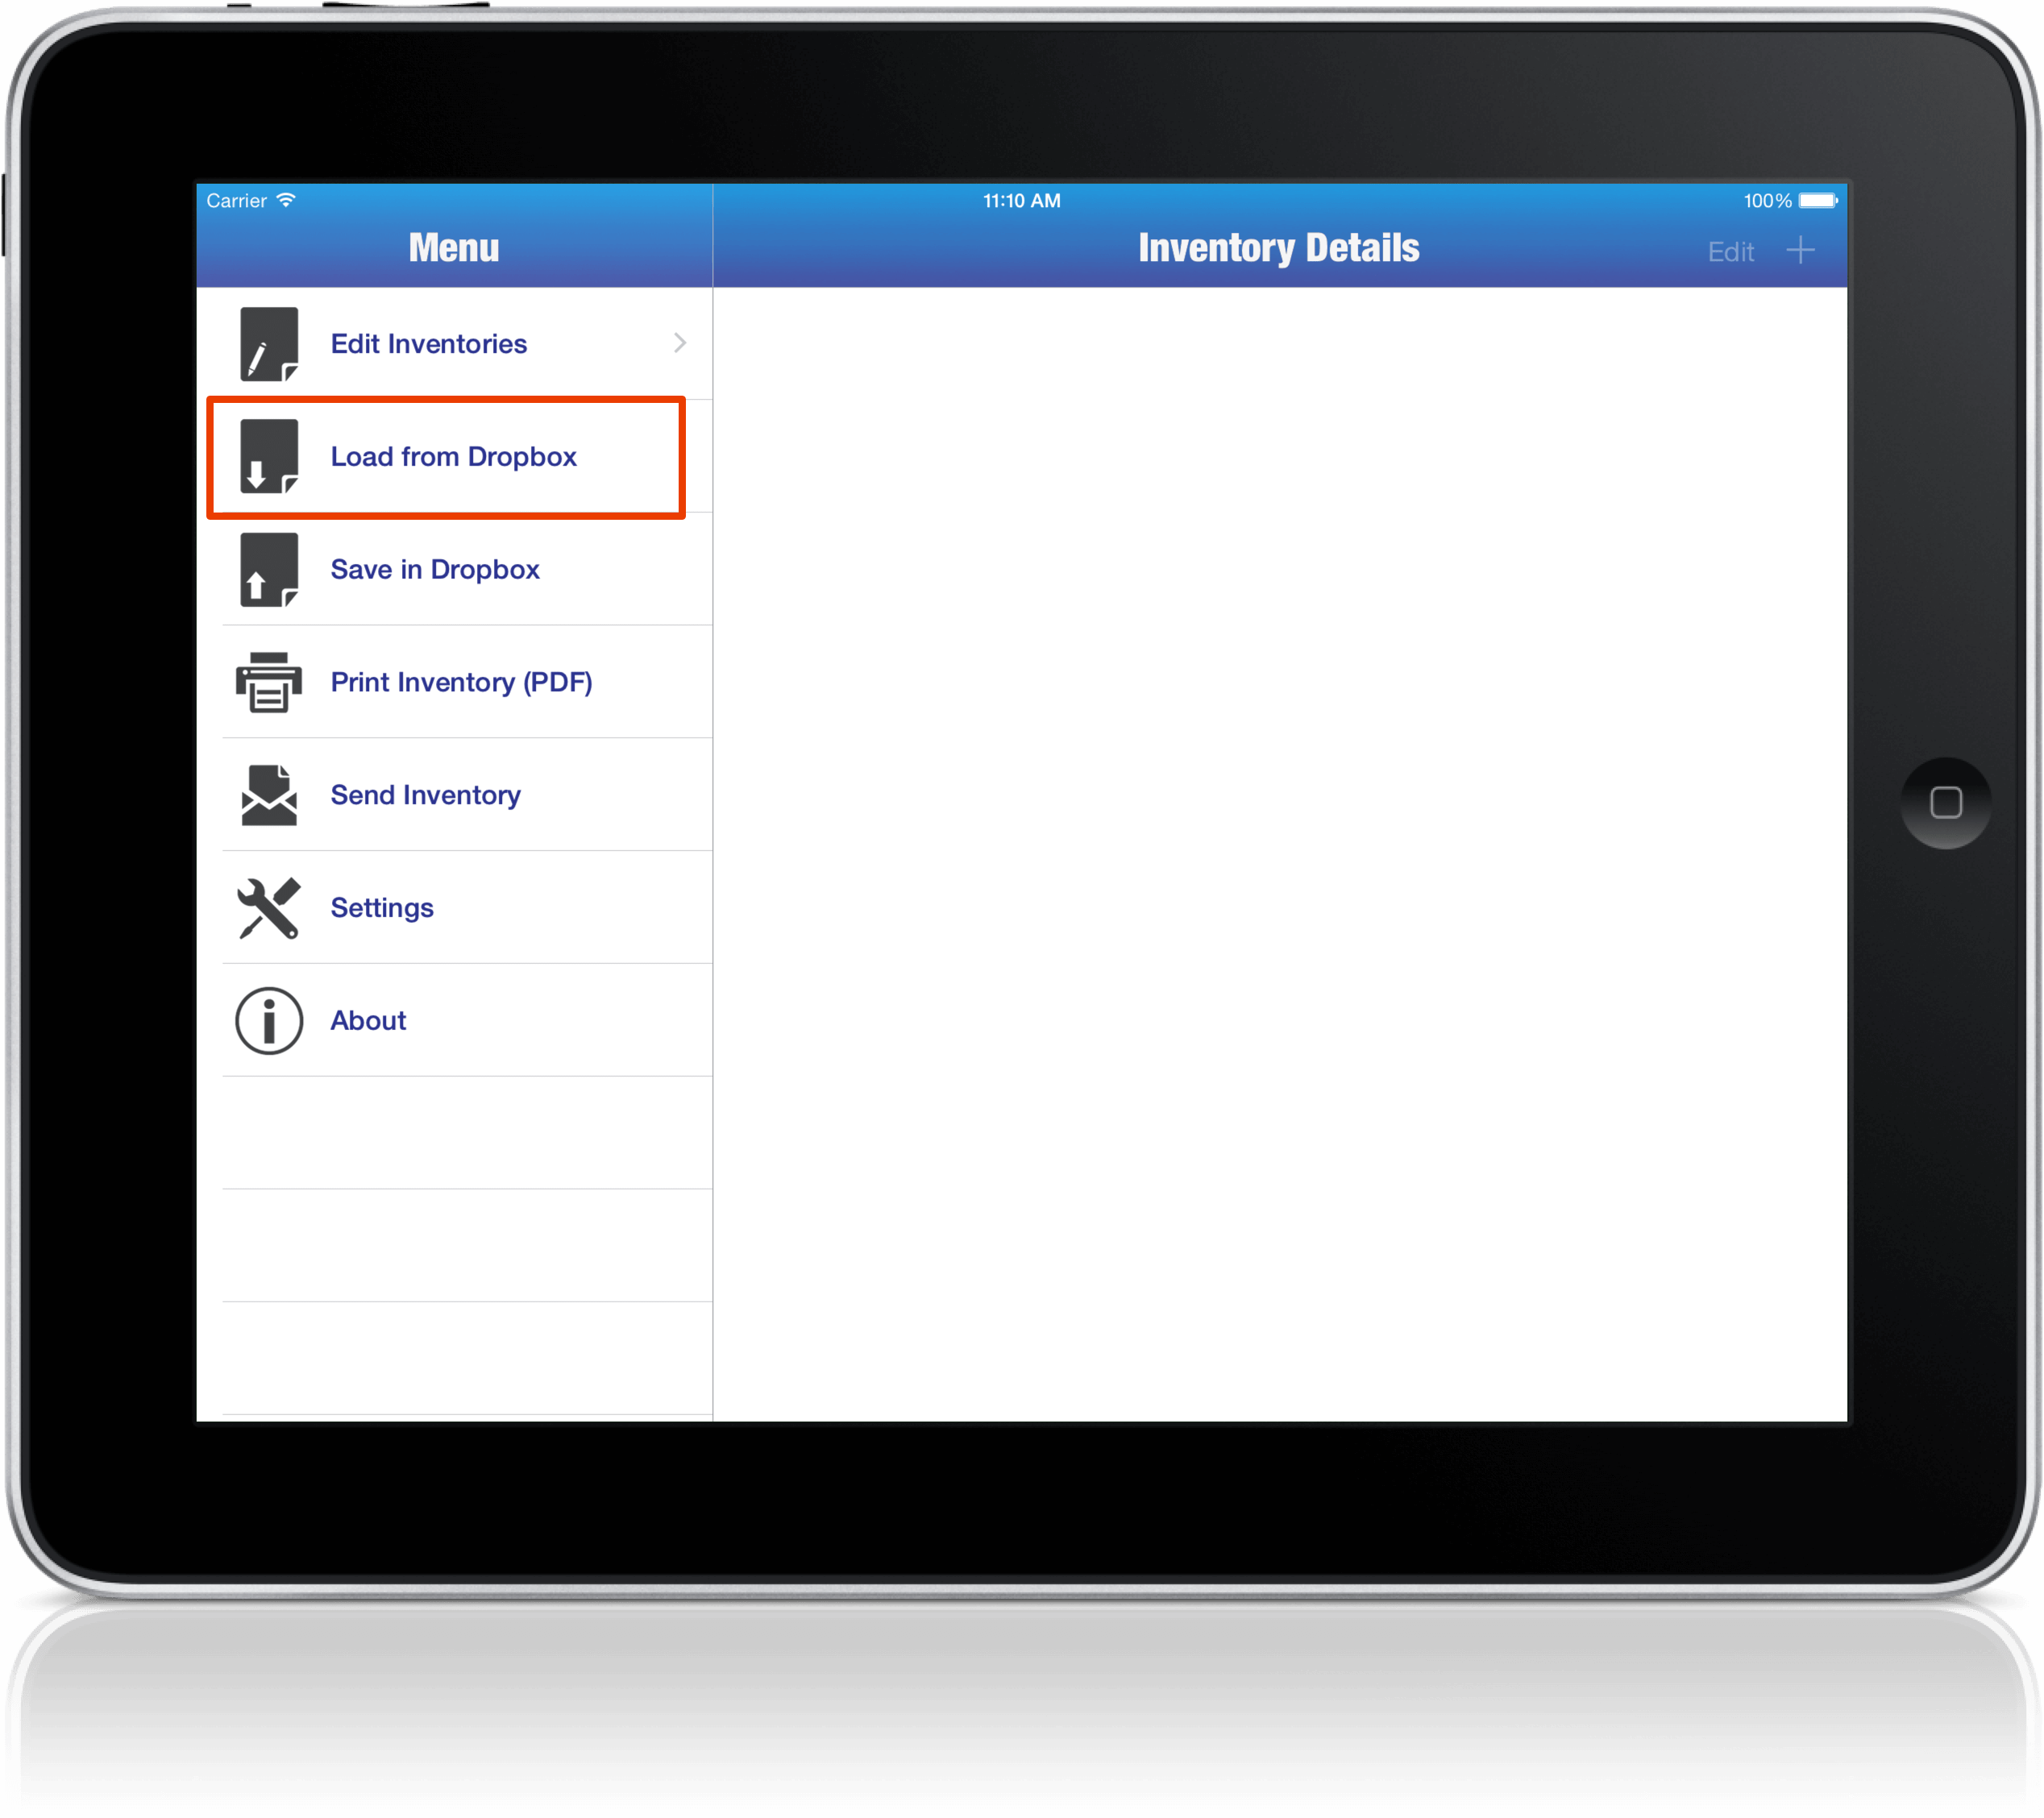
* Open the Crazy Inventory app and choose the menu item "Load from Dropbox"
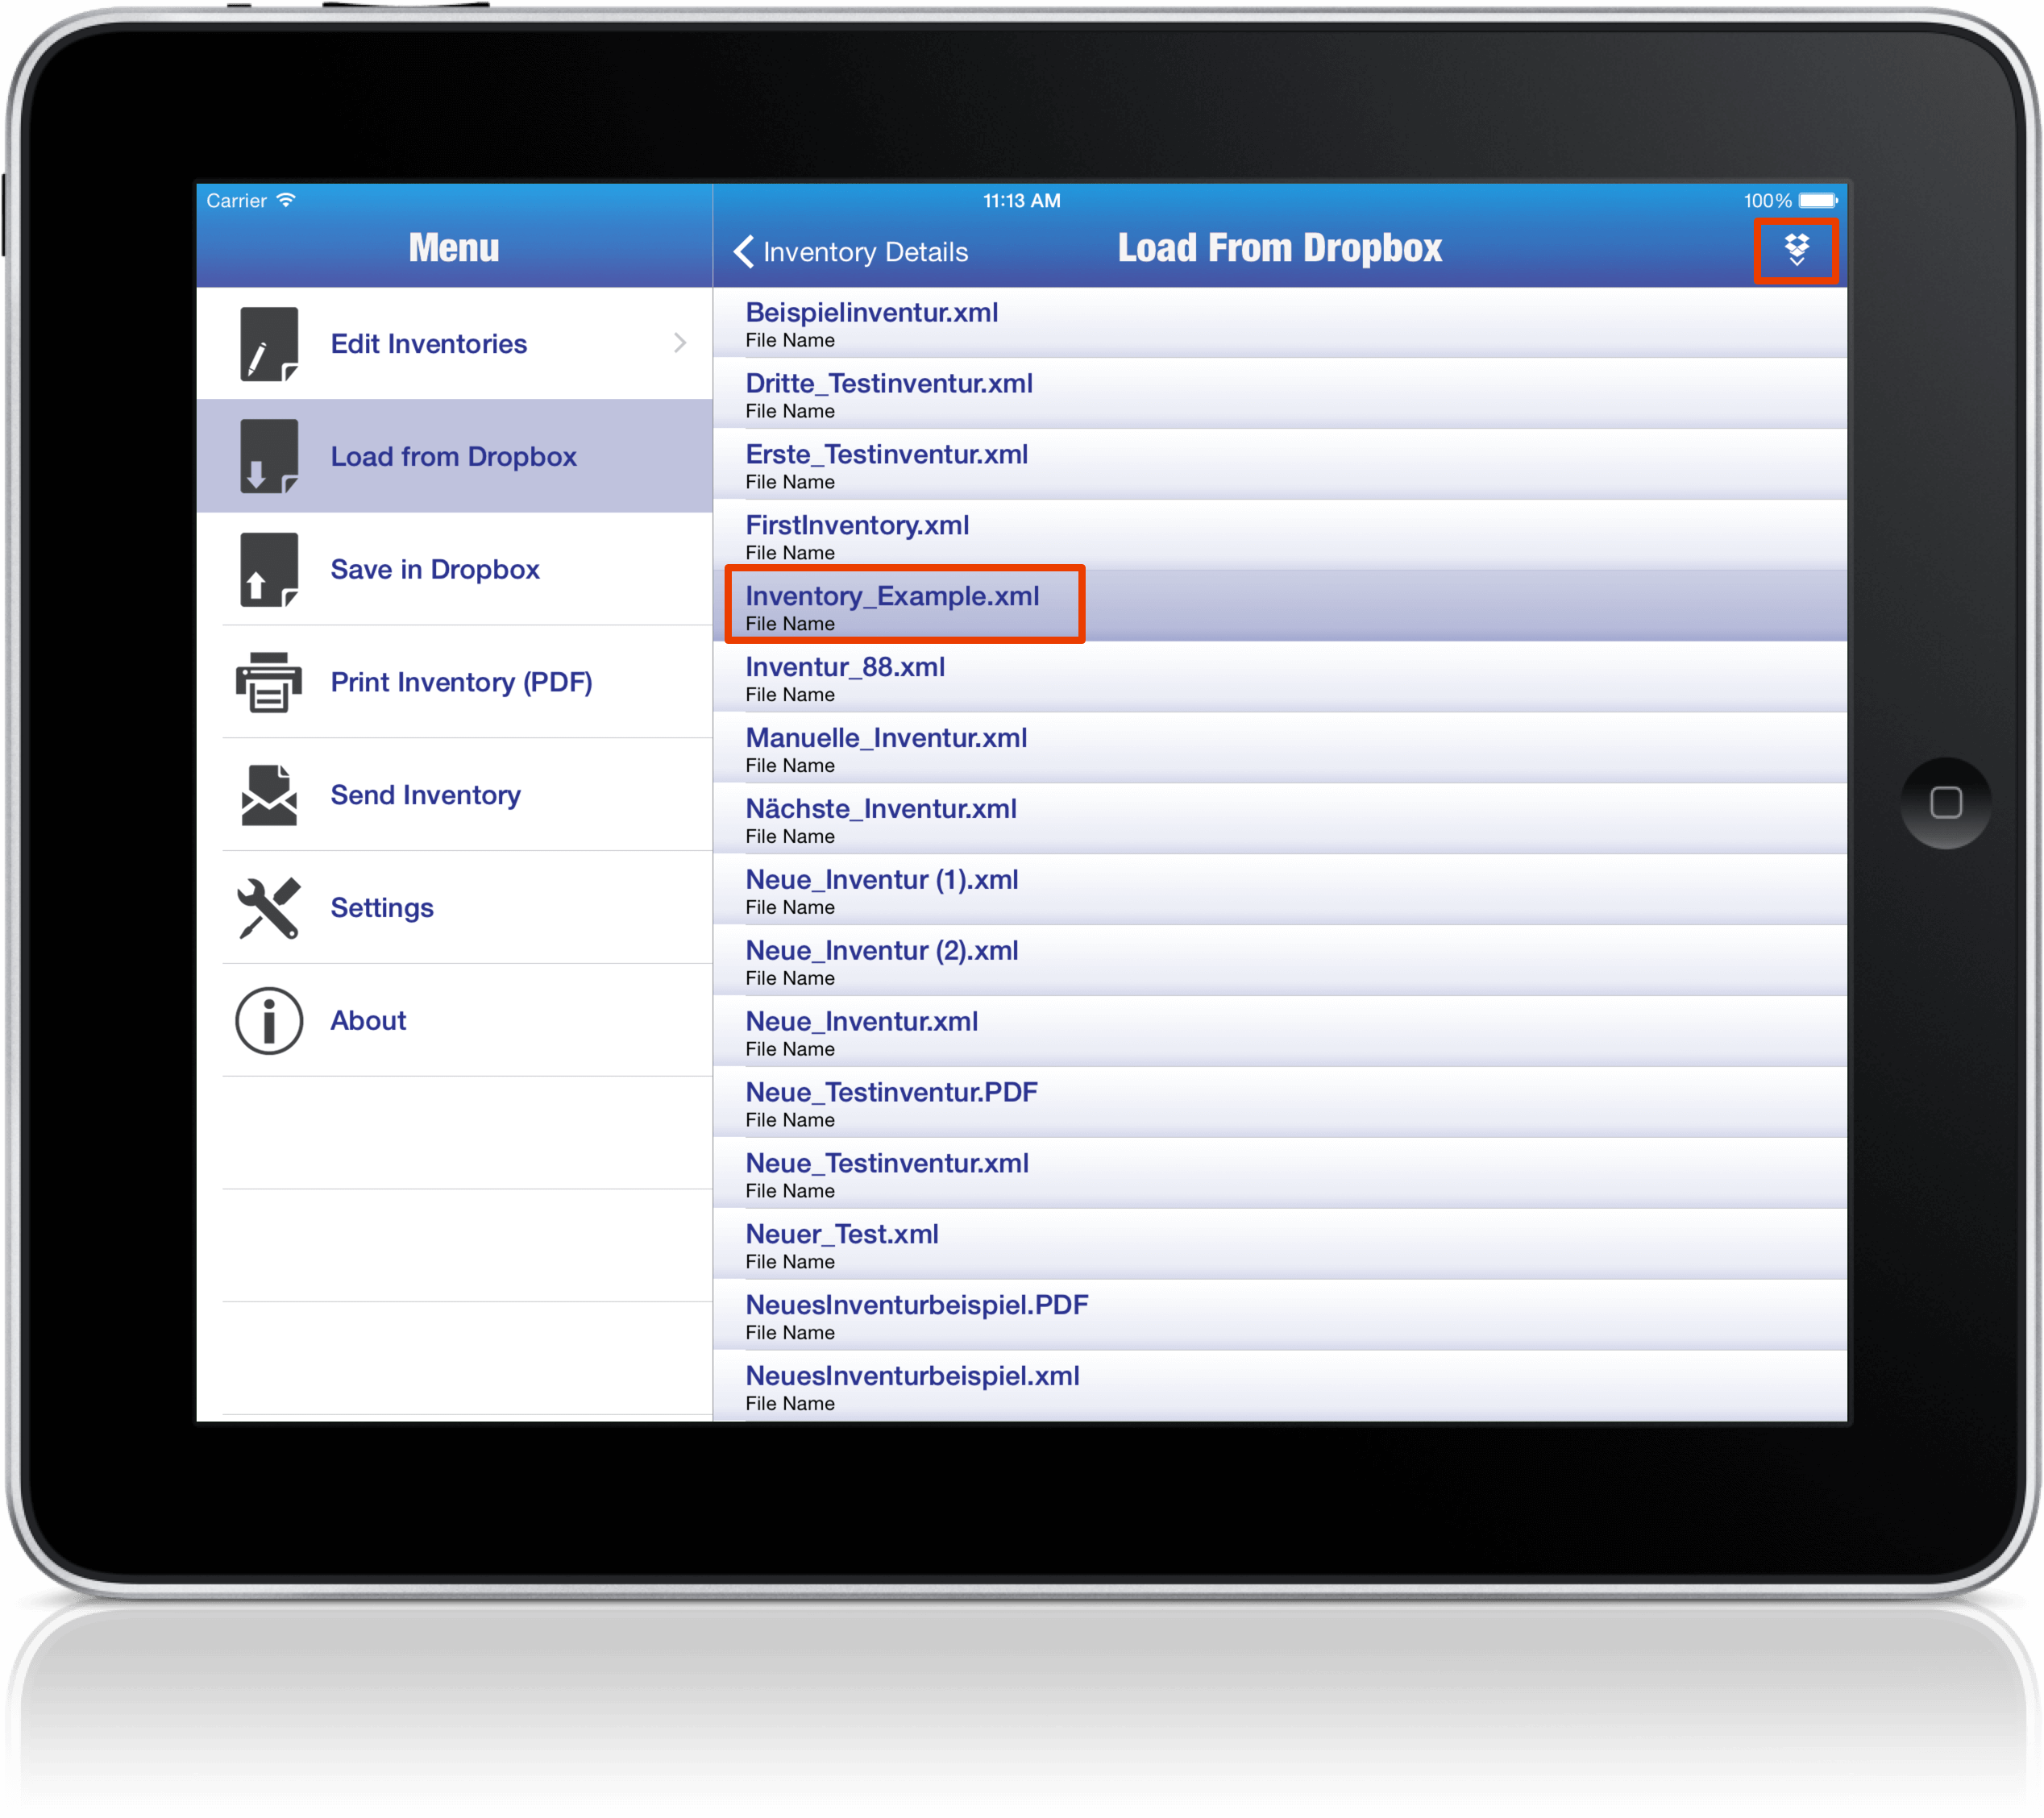
* Select the XML file which you have created in the steps above and tap the import icon
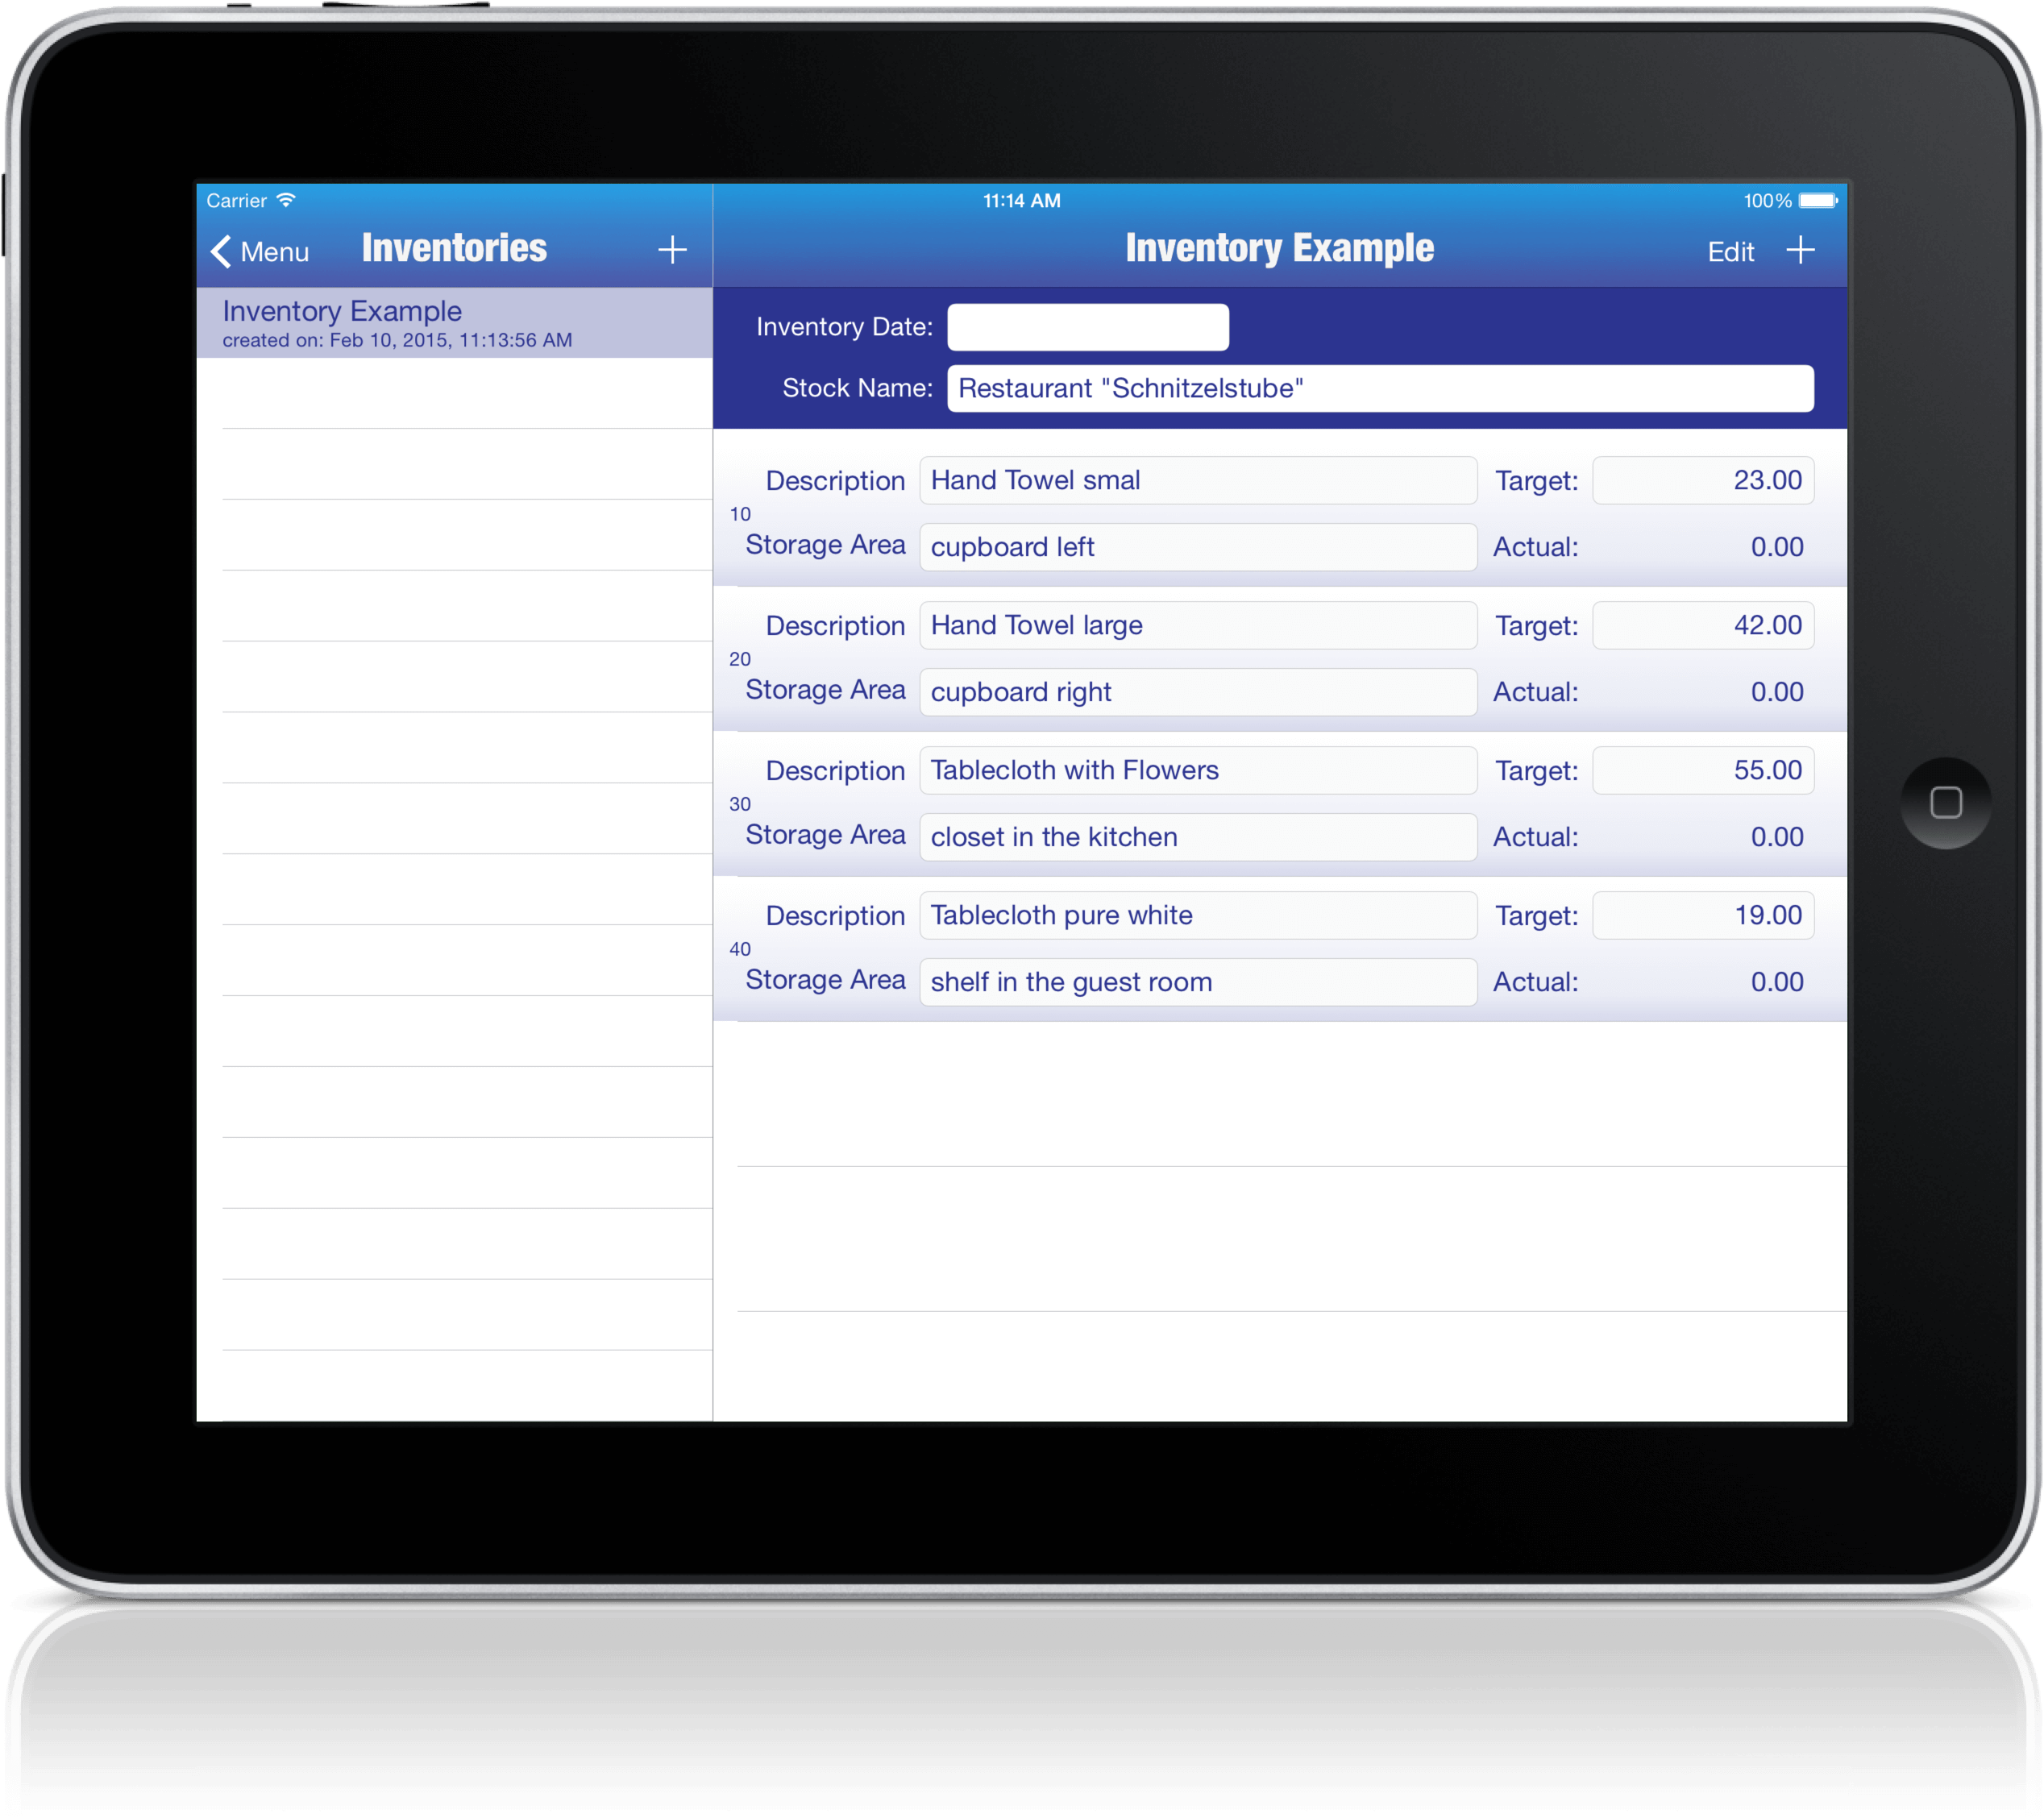
* Once you have received confirmation that the file was successfully imported, you can start with your inventory
Import data in Microsoft Excel from your Crazy Inventory app
You have completed your inventory and want to edit in Microsoft Excel for now. Maybe you want to load the data in your ERP system. Then you need an XML file as well.
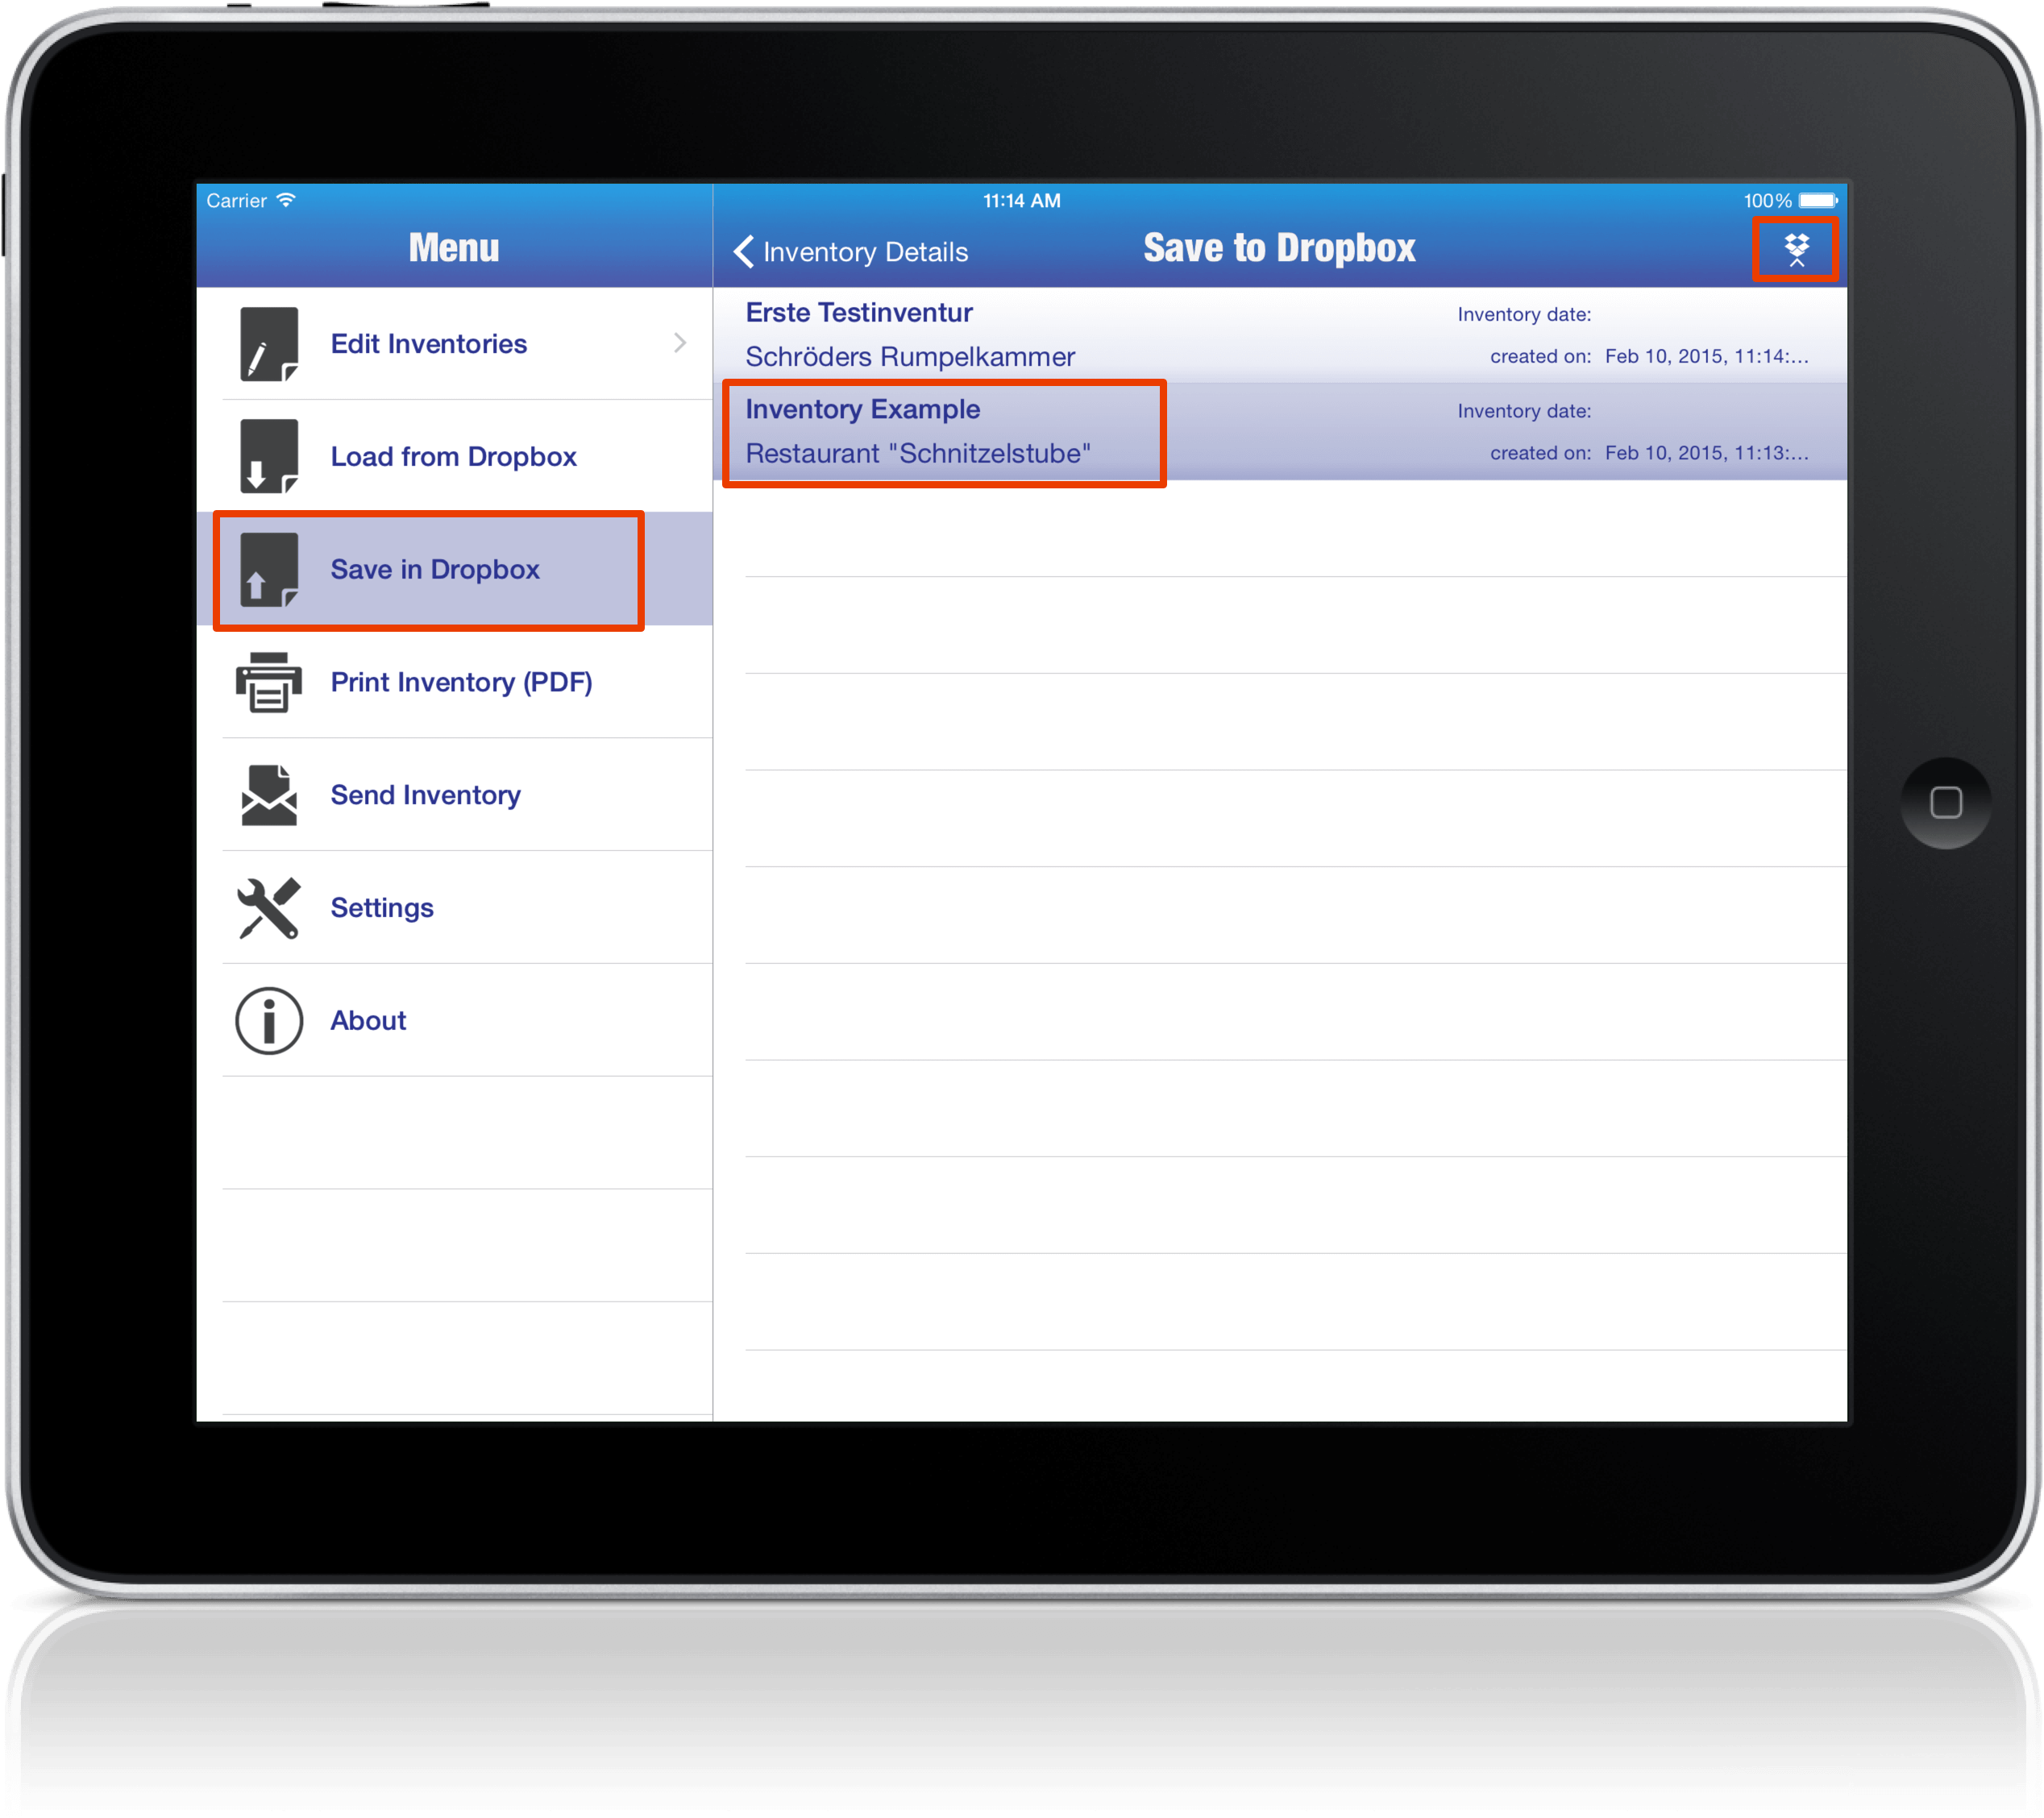
* Select the menu item "Save in Dropbox" and choose the relevant inventory for the list.
* Tap the icon to save the file in your Dropbox folder.
* If the file is imported it is overwritten with the new data. If you have created the inventory in the app, you will be prompted for a file name.
* Open Microsoft Excel. If you have installed the XML schema "Download Scheme" as described above, you can now simply double-click the XML file in your Dropbox folder "Apps / CrazyInventory" and get a table appears containing all items and all positions.
* In addition to the attributes described above, you will find three more in the table:
positionNumber: a unique number that reflects the relative order in your countings of your articles
operation: Indicator for the operation with which the position has been detected. Negative values will have the operation "-" positive operation "+".
positionValue: the counted value
actual: Sum of all positionValues for the relevant article